Do
you ever stay up late roasting marshmallows in the dark? Have you ever
had a bonfire so big and hot that you could see perfectly clearly, if a
little orange? Do you add those little color packets to your fire to get
interesting colors?

What
is it about fire that you want to remember and maybe add to your
scrapbook? Is it the patterns the sparks make as they rise from the
flames? Is it the dancing of the flames? Is it the amazing variety of
color? Whatever your reasons for taking a fireside photo, you need to
have the techniques to do it effectively.
I
love taking photos of fire for two reasons. First, it stretches my
photography skills and I learn something new every time I try. Second,
it seems to be a big part of every camping trip and deserves to be
documented.
Taking
fire photos isn’t as easy as it may look. While there might seem to be a
lot of light, your camera may not see it the same way you do. And your
camera certainly doesn’t see the motion of the fire the same as you do.
It’s then your job as the photographer to tell the camera how to see.
Let’s look at a few examples.
If
you’re using a point-and-shoot camera, your first reaction may be to
put your camera into night mode. After all, it’s dark outside, right?
Yes, it’s night but what happens to your camera in night mode? Because
your camera expects a low light situation when you tell it to work in
night mode, it opens the aperture up all the way, thereby creating a
shallow depth of field. It also slows down the shutter speed to allow
more time for the light to hit the sensor, thus creating the opportunity
for blur to appear in your scene. Usually, you would use a tripod at
night to reduce blur but because the fire is constantly moving, you
won’t be able to prevent it. The end result of using night mode on a
campfire is that you’ll get a lovely photo of a blurry campfire.
Instead,
if you want to remember some of the details of the fire like the hole
that keeps popping open or the flash of green from the piece of copper
pie, then you’ll need to do something different with your camera. You
could try sport mode, as it does the opposite of night mode, but your
fire is probably too dark for that. You could try portrait mode as it
will open the aperture but only have a medium shutter speed. This option
would capture more details than night mode, but it may not be enough.
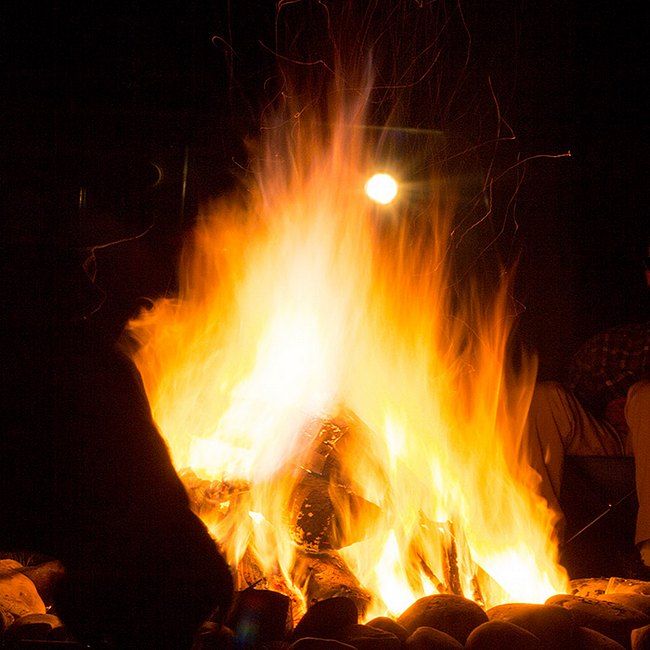
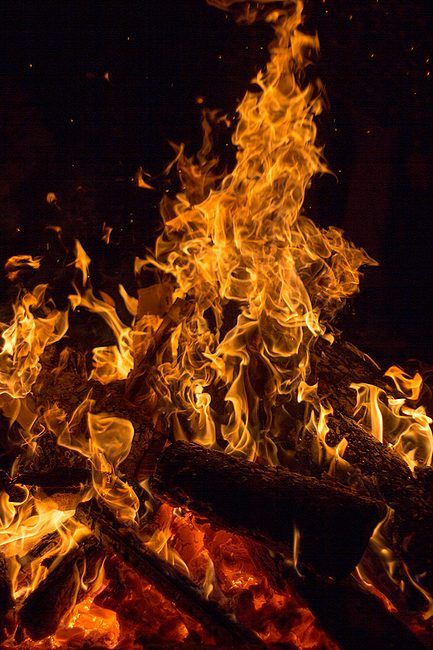
1/80s shutter speed
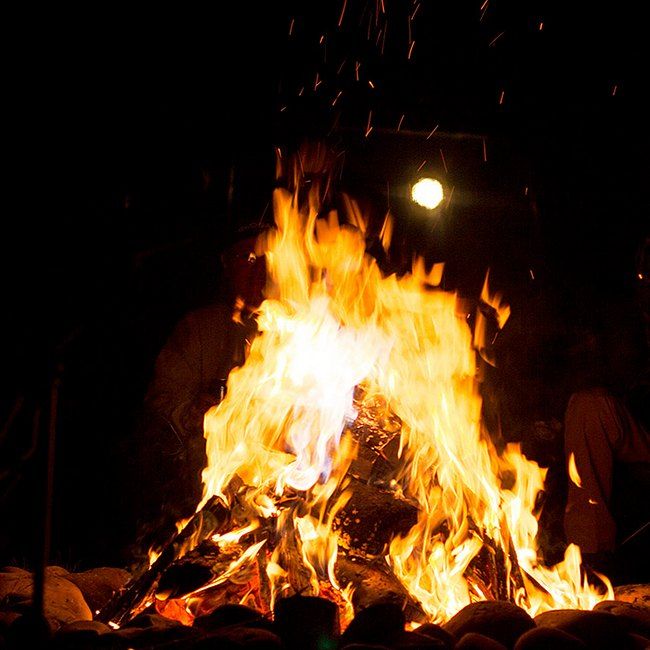
1/250s shutter speed
The
real trick to capturing a great fire photo with all of the shadows that
come from the flames is to use one of the creative modes. These are
Aperture, Shutter Speed or Program modes. Ideally, what you want to do
is open the aperture to let the light in, but keep a faster shutter
speed to freeze the motion. You may need to increase the ISO (sensor
sensitivity) of your camera to get good exposure. I prefer to work in
shutter speed mode because I’m usually taking photos of my kids, and the
same principles apply to fire. They’re both constantly moving, so you
need a faster shutter speed to capture the details. I generally try
between 1/60 and 1/15000 of a second for my fires. It really depends on
the fire. The difference between 1/80 and 1/250 of a second is clear in
these photos.
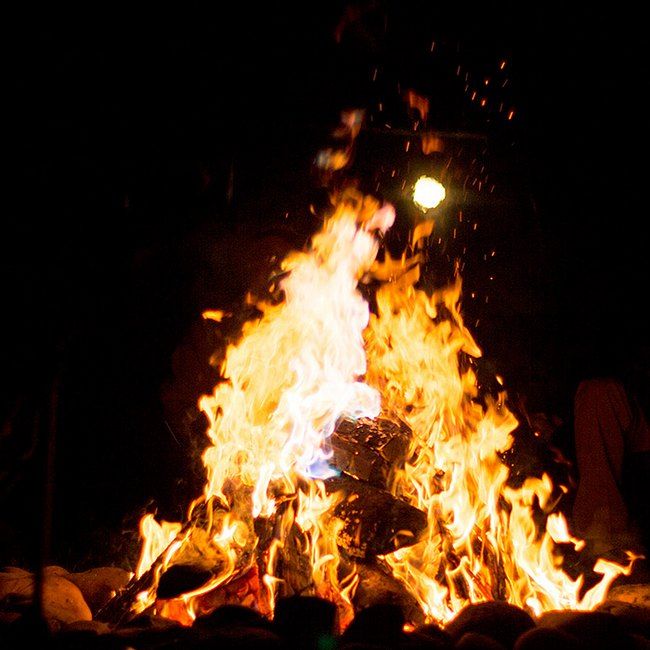
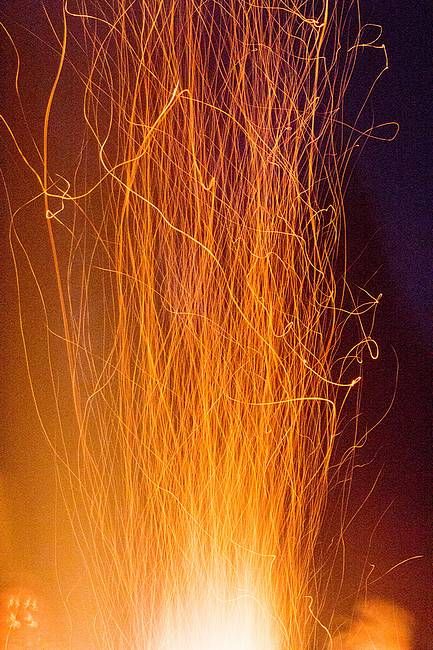
1/1000s shutter speed
And when you bump up to 1/1000 of a second, wow!
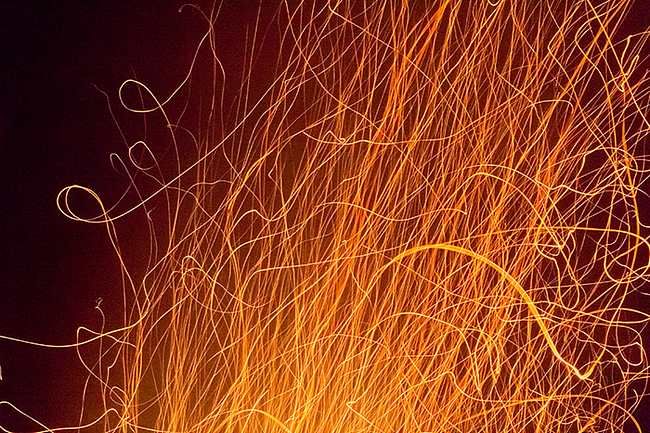
What about some more creative photos? I love to take photos of sparks and I have some pretty fun photos to show for it.
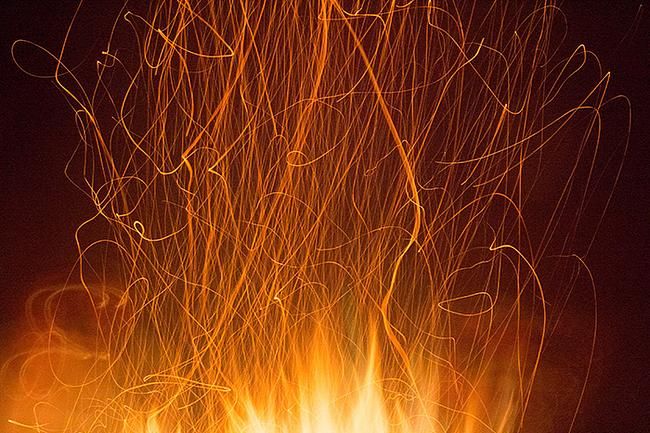
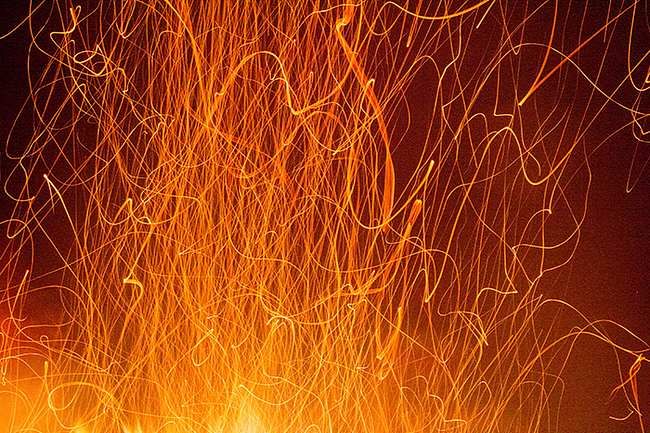
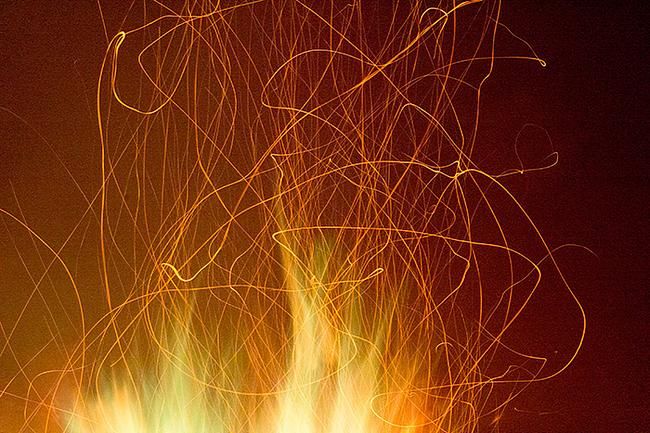
If
you want to try some of these photos, here’s what I usually do: I put
the camera into Shutter Speed or Program mode and set the shutter to
stay open for three to ten seconds. I then focus and open the shutter.
While the shutter is open, I’ll play around with moving the camera in
different directions and patterns. Depending on the light from your
fire, you may need more or less open time.