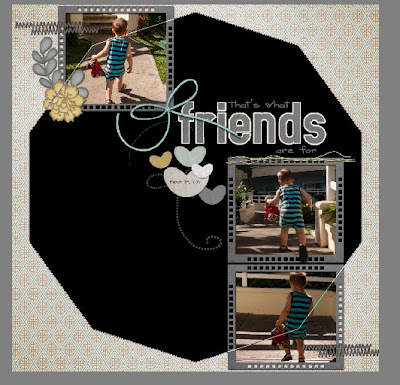
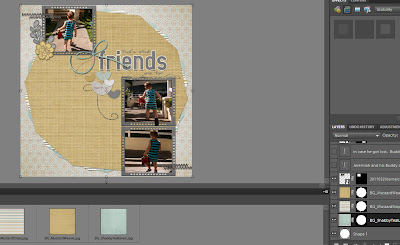
Have you ever wanted to try cutting a paper into something other than a square, rectangle or circle? Sometimes it's a nice, refreshing change. Today, I'll show you how to create the matting in this layout.
To create this look, we are going to use the polygon tool. It is located with a whole bunch of other tools, including rectangle, rounded rectangle and custom shape.
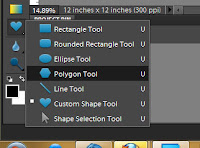 |
| The polygon tool is located under the Rectangle Tool |
When you are ready to add a polygon to your layout, right click on whichever of these tools is on top and select the polygon tool, or cycle through them by pressing the U key. In the toolbar, choose the number of sides you want for your polygon. The higher the number, the more circular it will look. I chose 10, which was also an easy number for the math part of the lesson.
 |
| Enter the number of sides you want for your polygon. |
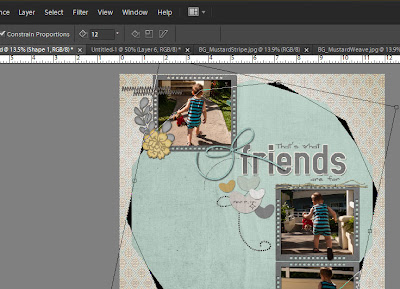
To draw the polygon, drag your mouse from the centre of your layout to the side. This tool is different from most of the others in that you always start at the centre. The angle you move your mouse at will determine the rotation of the polygon. I want the sides of my bottom layer to be vertical so I am watching for that when I draw my polygon. The other option is to press Shift while drawing and that will keep the top side horizontal and then you can rotate it after the fact.
 |
| Draw your polygon from the centre out. Keep an eye on the sides if you prefer things to be square to your page sides. |
Now add your bottom paper to the layout. Ctrl+Click on the polygon thumbnail and add a layer mask to the paper.
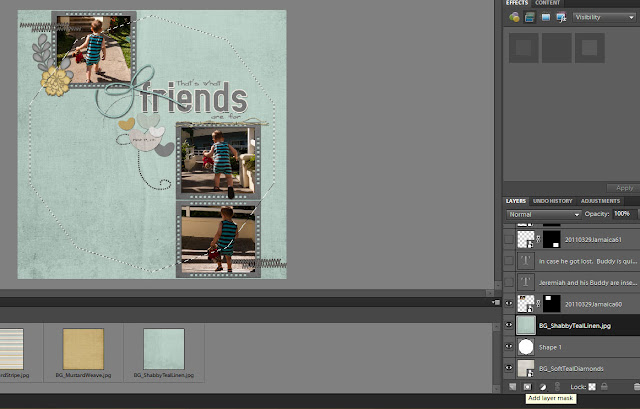 |
| Add paper, Ctrl+Click on polygon thumbnail, then add layer mask. |
Back on your polygon layer, you need to rotate it for the next paper. Here's your math lesson. There are 360° in a circle. Divide that number by the number of sides in your polygon. For a decagon (10 sides) you get 36°. Now divide that answer by the number of papers you want to stack. For this layout, I want 3 papers, so I will divide by 3 to get 12°. That mean that I need to rotate my shape layer by 12°. I will do that by making sure that layer is active and then pressing Ctrl+T and entering 12 into the rotation box.
 |
| Rotate shape by 360° ÷ # of sides ÷ # of papers |
Now repeat adding your next paper, applying a layer mask and rotating the polygon until all of your papers have been added. Add drop shadows and you're done! That wasn't so bad now, was it? You can delete your shape layer if you like, but it won't show so it's up to you.
 |
| Don't forget to rotate your shape for each additional paper |
I hope you enjoyed this tutorial. As always, please let me know if there are any techniques you would like to learn or if you have questions.


No comments:
Post a Comment